
In a retail store, customers can see products up close to better understand their quality and materials. But online, you have to rely on photos to make up for the fact that shoppers can’t touch or feel your products in person. Good e-commerce photography can make all the difference when it comes to converting shoppers to buyers. Here are five tips for making sure your online store’s product photos really sell.
Be Consistent
There are two main styles of product photography. The first involves displaying only the product on a white (most common) or colored background. The second type of product photography is lifestyle-oriented. These photographs typically display the product in its intended setting. Before starting photography, decide on one of these two types and stick with it. Consistency will make it easier for new visitors to “get” your website and contribute to how they view your brand. It will also make your product photos easier to scan on category and search pages.
Many themes offer the ability to show the second photo on hover when viewing product listings on category or search pages. If you’re using a theme with that feature, I recommend leveraging both types of photos as your first and second images. For example, use photos on a white background for the primary image, but a lifestyle photo that displays on hover. This gives shoppers more information about the product before deciding whether to click on it.
Examples of different image styles:
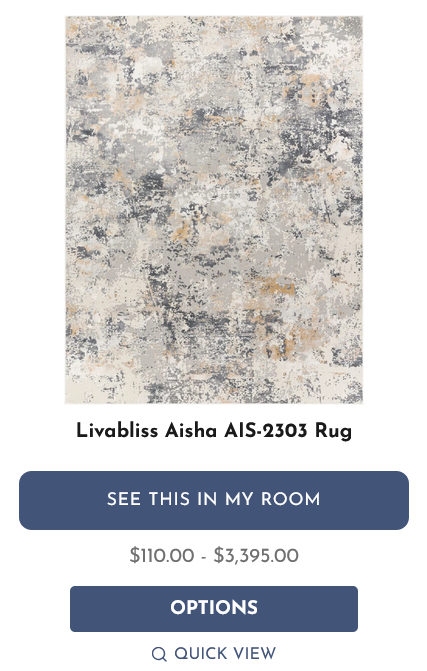
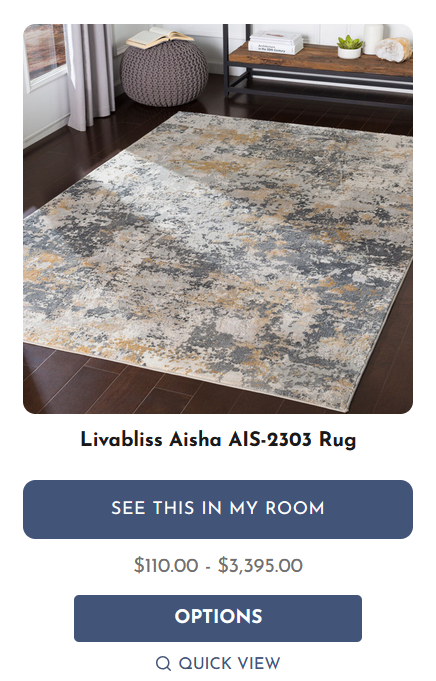
Size Appropriately
If possible, you’ll want to use large photos that give shoppers plenty of detail and allow them to zoom in. But you don’t want your images to be so large that they load slowly. I recommend making the longest side of your photos (height on a vertical image, width on a horizontal image) at least 500 pixels. If you can make them 1000 pixels, that’s even better, but don’t go much larger to avoid slow loading.
Depending on your platform, you may need to upload multiple image sizes for different uses around the website. Make sure to check recommended sizes provided by your platform to determine the best size for product page images vs thumbnail images for category and search pages. If you’re using BigCommerce or Shopify, you only need to upload large images – the platform will automatically create the smaller thumbnails for you.
Get Oriented
When it comes to orientation, it’s best to be consistent when possible. A list of all horizontal images will just look better than a mish-mosh of some vertical, some horizontal and some square. And unless your products really only lend themselves to one orientation (such as apparel, which often uses vertical photos), I recommend using a photo editor to crop them all to a square shape. This will allow you to center each image nicely on category listings, search results and product pages.
Most ecommerce themes assume you’ll be using square images. If you’ll be using vertical or horizontal images, you may need to adjust your theme’s settings to avoid your images being cut off or having a large white gap between the photo and the product details.
Examples of different image orientations:
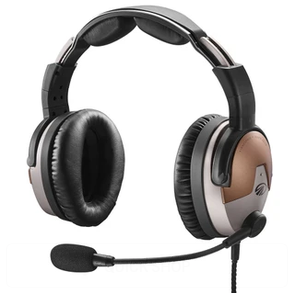
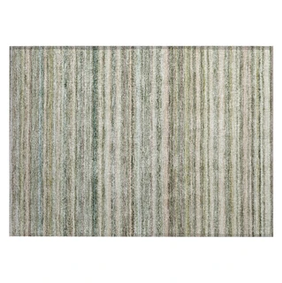
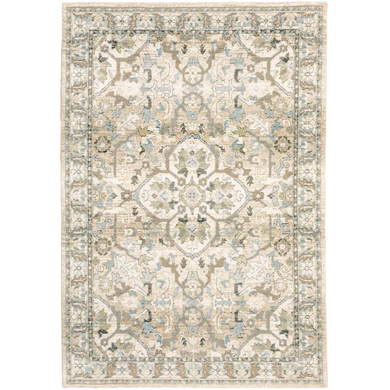
Show Multiple Angles
Informative e-commerce websites will show multiple photos per product – a main image followed by alternate views. You main product photo will be the first representation your shoppers see, so you should pick one that shows the whole product. Use alternate images to show different angles (like a dress from the back), close-ups of product details (such as wood grain on a table) or the product in use (such as a cabinet with its doors open). But, keep in mind that shoppers might not scroll through through all of your photos. Therefore, order your product photos from most to least important, thinking about what information will be necessary for your visitors to make a purchase decision.
Videos can also add context, and many themes will display them in the product image gallery. If you’re able to upload quick videos showing the product in use, or even leverage videos from your vendors, that’s a bonus for shoppers.
Examples of different image angles:
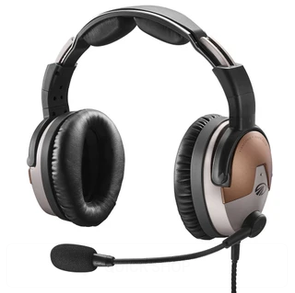
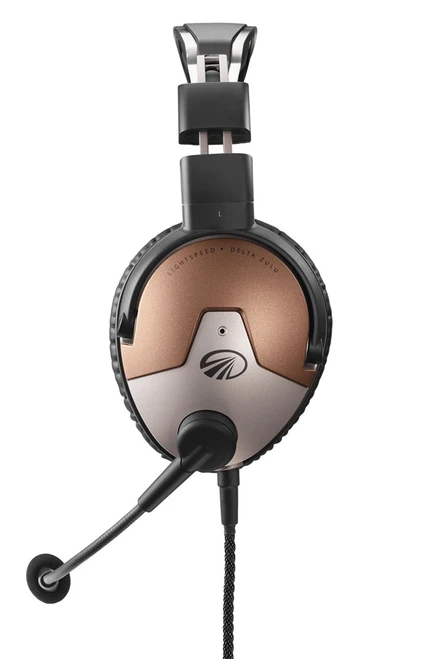
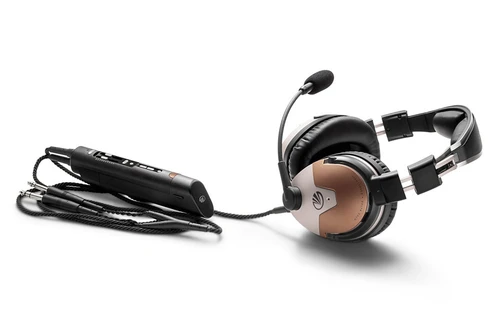
Use the Right File Type & Size
In the majority of cases, your product photos should be JPGs. This is the most common file type for photographs and will result in the sharpest, clearest result. If using a photo editor, make sure you are saving the photograph “for the web,” (or a file resolution of 72 dpi) so that it is the appropriate file size for website usage. Higher resolution JPGs are typically for offline or print usage, but their super-high quality is not necessary for the web and will just slow down page speed, which can have a negative impact on conversion and SEO.
If your photos will have text of any sort, save your JPGs at a slightly higher compression or quality level to ensure the text doesn’t look blurry or pixilated. If you have an image that is only text or non-photographic imagery, you may want to use a PNG or GIF format, which will more show text more sharply. For images with transparent backgrounds, always use the PNG format. However, PNGs should be use sparingly, as they are larger file sizes and can negatively impact your website’s speed.
Product photos are one of the most important elements on an ecommerce website, but other things can impact your conversion rate. If your design hasn’t been updated in a while, a redesign may be worth considering.
This post was adapted from my ebook E-Commerce for Everyone: How to Launch a Successful Online Store Using Bigcommerce (or Other Hosted Platforms), available on Amazon.com.
Sales in a slump?
Get instant access to the Conversion Boosting Self-Audit, proven to identify order-blocking issues on your website.
Plus, you'll get periodic tips, tools and exclusive offers designed to help grow your e-commerce business. Unsubscribe any time.
